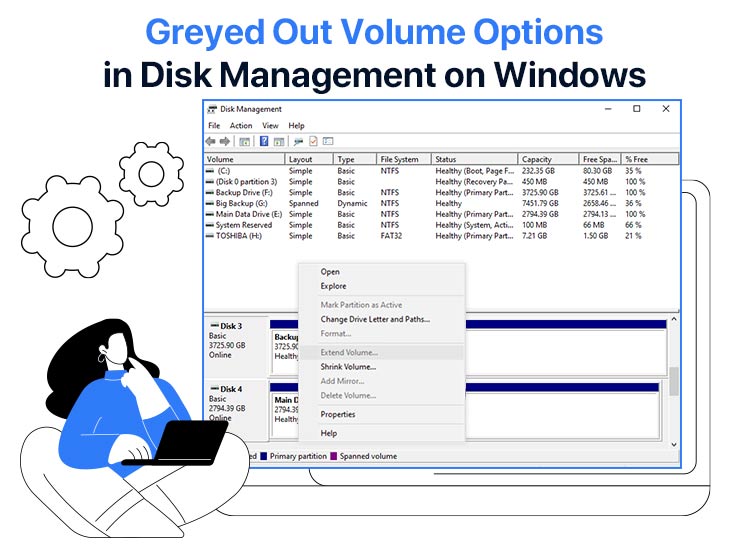
Windows 11 extend volume greyed out is an annoying issue when you try extending the partition on the disk to make room for new files and programs. However, while being frustrating, this problem is easily solved with a few simple solutions.
In this article, we walk you through these tried and tested fixes to the greyed-out extend volume problem on Windows 11. However, before moving on to these fixes, let’s answer the question, “Why can’t I extend volume?” to help you see the issue more clearly.
Why Is Extend Volume Greyed Out on Windows 11
“Extend Volume” is an option available in the Disk Management tool in Windows 11, allowing you to enlarge a hard drive partition to free up some disk space. However, this feature only works when you have unallocated space available next to the volume you want to extend. Hence, the following factors may be the reason the option is greyed out and you can’t extend volume on Windows 11.
- The partition you wish to enlarge is not an NTFS system partition (Microsoft allows you to extend only RAW or NTFS partitions).
- You do not have unallocated space adjacent to the partition you wish to extend.
- Your dynamic disk does not have unallocated space available.
Now that you are familiar with why extend volume or new simple volume is greyed out, let’s guide you through how to fix it.
How to Fix Windows 11 Extend Volume Greyed Out
You can apply the following solutions sequentially until the problem is solved to fix the greyed-out extend volume on Windows 11.
Fix 1: Convert the disk partition to an NTFS file system
Since Microsoft allows you to enlarge only RAW or NTFS file system partitions, otherwise it greys out the extend volume option, below is how to convert your partition to an NTFS partition.
- First, click the Windows icon on the taskbar, type Disk Management in the on-screen search bar, and then click on the first search result.
- Second, right-click the partition you want to convert and choose Format from the available options.
- Next, select NTFS from the on-screen options and click on the OK button.
- Lastly, restart your computer after the process is complete.
Also know: Fix External Drive Not Showing Up in Windows
Fix 2: Delete the next partition
Windows 11 extend volume is greyed out if you do not have unallocated space available next to the partition you wish to enlarge. Hence, you need to delete the partition adjacent to your primitive partition by following the steps below.
- First, search for and open Disk Management.
- Second, right-click the partition next to the primary partition and choose Delete Volume from the available options.
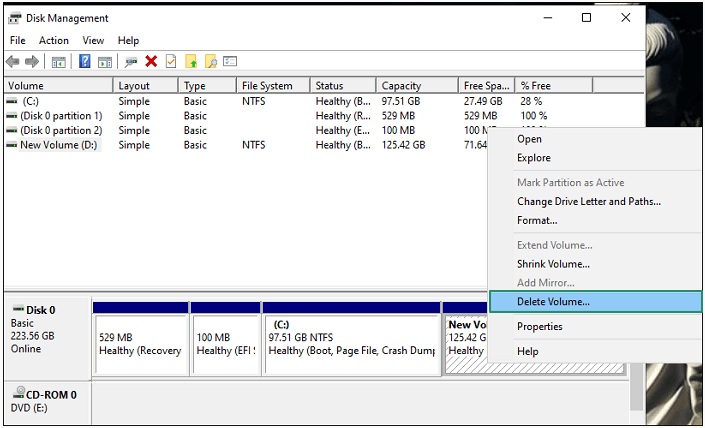
Note: If the partition is a recovery partition, it is not possible to delete it through Disk Management. The only way to delete a recovery partition is via Command Prompt.
Fix 3: Delete the recovery partition via Command Prompt
Since deleting a recovery partition (if it is adjacent to the partition you wish to extend) is not possible using Disk Management, below is how to delete it through Command Prompt.
Note: Back up all your data before deleting the recovery partition to prevent data loss.
- First, click on the Windows icon, type Command Prompt or cmd in the on-screen search bar, right-click the first search result, and select Run as administrator from the on-screen options.
- Second, type DiskPart in the Command Prompt window and press Enter.
- Next, type list disk in the on-screen window and press Enter.
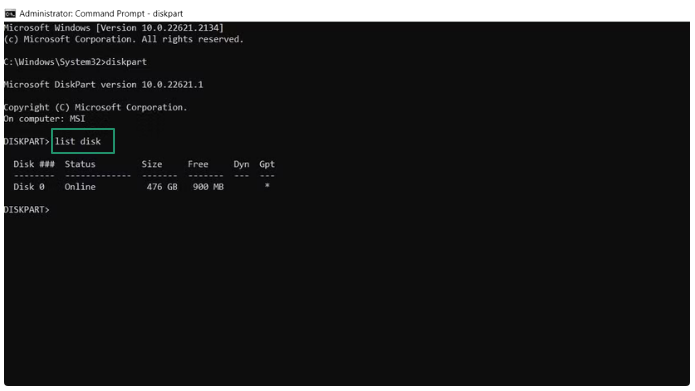
- In this step, choose the disk that you wish to extend. For instance, if you wish to extend disk 0, type select disk 0 and hit the Enter key.
- Next, type list partition and hit the Enter key.
- You can now note the recovery partition’s partition number from the Type column. For instance, if the partition number is 3, type select partition 3 and press Enter to select your recovery partition.
- Lastly, type delete partition override and press Enter to delete the recovery partition.
Fix 4: Build a RAID array to extend to another dynamic disk
Dynamic disks allow the creation of partitions that look presentable in one location but are distributed across more than two disks. Hence, if you cannot free up additional space on your current disk, you can attach a separate one to extend the partition on your computer. Below is how to do it.
- First, shut down your computer and attach a new hard drive.
- Next, switch on your computer, apply the Windows key+R key combination, type diskmgmt.msc in the on-screen box, and press Enter.
- If there are any pre-existing partitions, delete them to get some unallocated disk space.
- In this step, right-click the disk of your choice and select Convert to dynamic disk from the available options.
- Next, click OK after ensuring that you have selected the right disks.
- You can now click Convert on the next screen.
- Click Yes when the confirmation dialog box appears.
Also know: Error Code 102630 (This Video File Cannot Be Played): Solved
Fix 5: Shrink the partition volume
You can shrink the volume of the partition if none of the above solutions work to fix the greyed-out Windows 11 extend volume. Here is how to do it.
- First, right-click the Windows icon on the taskbar and select Disk Management from the on-screen options.
- Next, right-click the partition next to your primary partition and choose Shrink Volume from the available options.
- In this step, mention the space needed for shrinking, click Shrink, and then click OK.
Windows 11 Extend Volume Greyed Out Issue Fixed
That’s all for how to fix the extend volume or new simple volume greyed out on Windows 11. We hope the above solutions fix the problem for you. However, if you know of other better fixes, please enlighten us through the comments section. You can also write us a comment if you have any doubts, questions, or feedback about this guide. We will be glad to hear from you.
