Kyocera is a renowned printer brand for its reliability, high-quality printing in large volumes, and user-friendliness. However, like all other printers, you need a correct, compatible, and up-to-date Kyocera printer driver downloaded and installed on your computer for the printer to function smoothly.
The printer driver connects your printer to the computer, enabling the system to understand and execute your instructions correctly.
If your PC does not have the latest driver for the Kyocera printer downloaded, you may experience issues such as the printer not working or being unavailable.
Hence, this article guides you through the best methods for downloading and installing the Windows 10/11 Kyocera printer drivers. Let’s begin right away to save precious time.
How to Download Kyocera Printer Driver
You can download the Kyocera printer driver and install it through the official website, Device Manager, or Windows Update. All these methods are detailed below.
Method 1: Download the Kyocera printer driver and install it from the official website
The drivers for all Kyocera products are available on its official website. You can follow the steps below to download and install the Kyocera driver for your printer from the official website.
- First, go to the Kyocera download center.
- Second, click on the Choose an option dropdown to expand it.
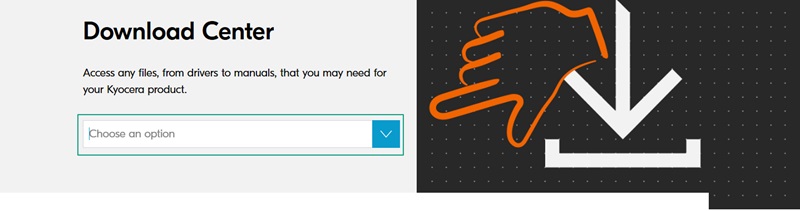
- Next, select your printer from the on-screen options.
- In this step, check if the detected OS is correct or not. Click on Change and choose the correct OS if the automatic detection is incorrect.
- Now, click on the download icon to download the setup for the Kyocera driver.
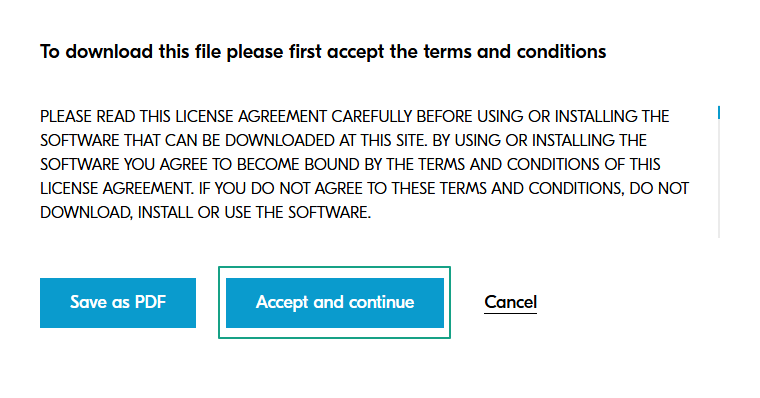
- Next, read the on-screen terms and conditions, and then click Accept and continue to download the driver’s ZIP file.
- In this step, double-click the downloaded ZIP file to unzip it and then follow the on-screen wizard to complete the Kyocera printer driver installation.
- Lastly, restart your computer to allow the new printer driver to take effect.
Also know: How to Fix Driver is Unavailable For Printer Problem in Windows 11/10
Method 2: Use Device Manager to download and install the Kyocera printer driver
Device Manager is a tool Microsoft provides in all Windows operating systems to help users perform different driver-related functions, such as downloading, installing, and updating drivers. Below is how to use this tool to download, install, and update the Kyocera printer driver.
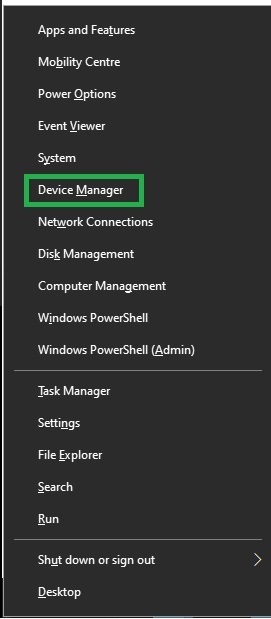
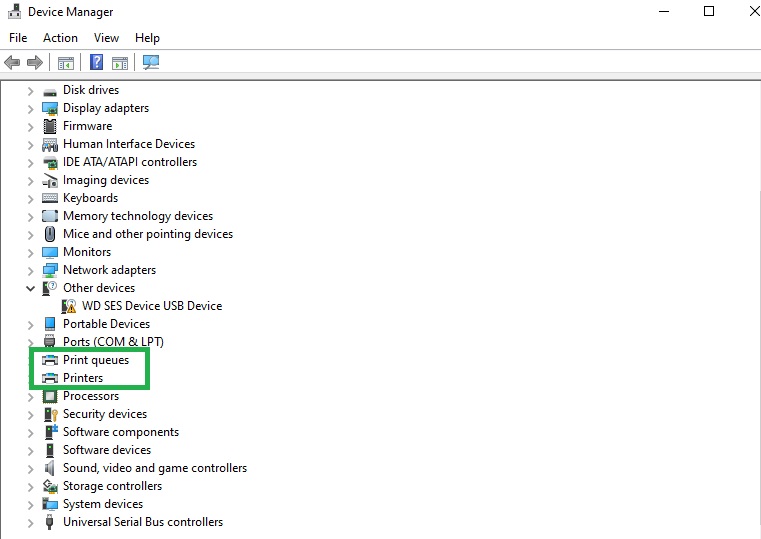
- In the first step, right-click the Start button and then choose Device Manager from the options on your screen.
- Next, double-click on the Printers or Print Queues categories in the Device Manager to locate your Kyocera printer.
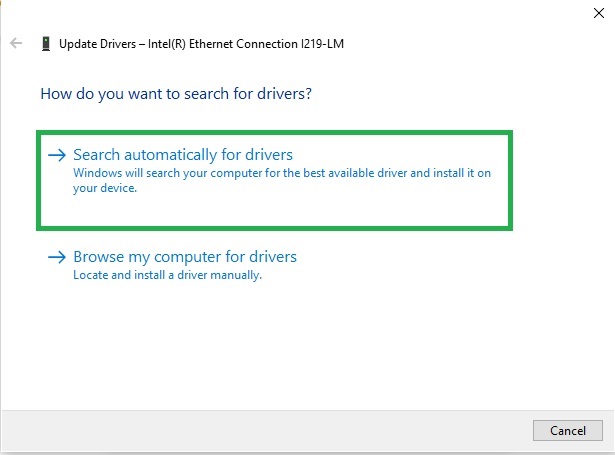
- In this step, right-click your Kyocera printer and then select the Update Driver from the available options.
- Next, search automatically for drivers.
- Now, follow the on-screen directions to complete the process of downloading and installing the driver.
- Lastly, restart your computer so the new driver can take effect.
Method 3: Download the Kyocera printer driver and install it by updating Windows
Operating system updates fix the common performance problems and download and install the missing drivers. Hence, you can follow the directions below to update Windows.
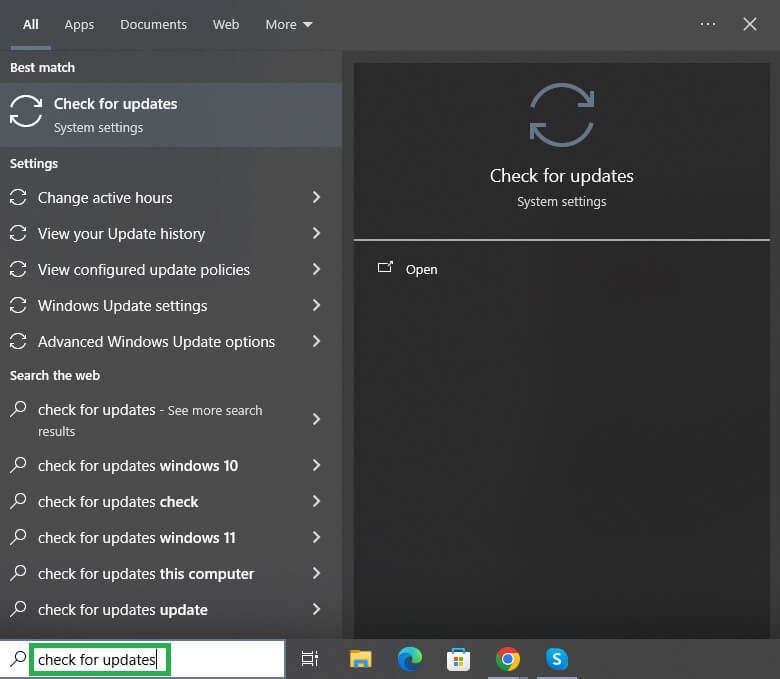
- First, use the Win key+S key shortcut to access the search function on your computer.
- Next, type check for updates in the on-screen search box and then select it from the search results.
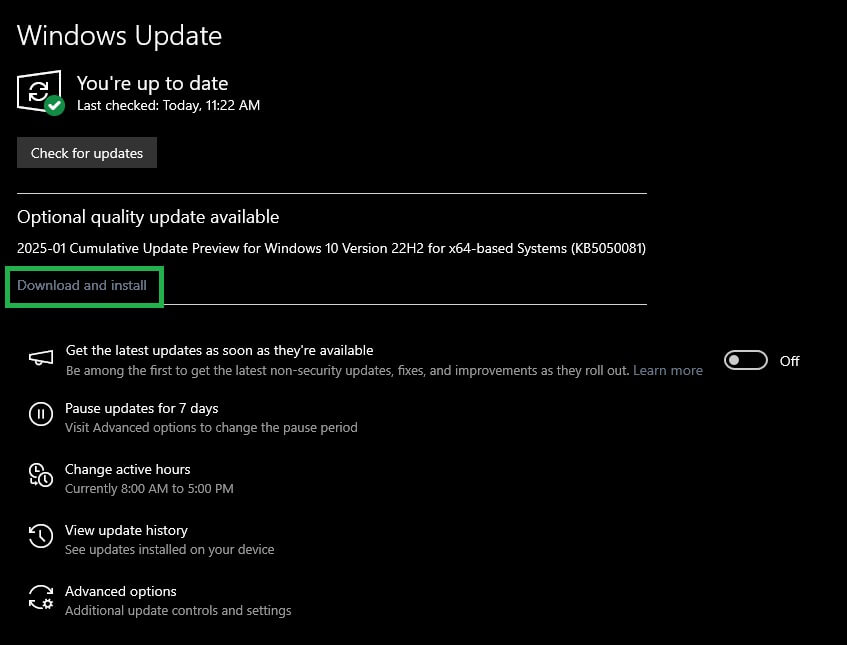
- In this step, click on the Check for updates button so Windows can find the available updates.
- Now, click on the download & install button to get the available updates downloaded and installed (remember to download and install the optional updates as well).
- Lastly, complete the process by restarting your computer.
Also know: How to Reset and Clean Printer Spooler on Windows
Kyocera Printer Driver Downloaded and Installed
The guide above explained how to download and install the updated Kyocera printer drivers. You can follow any of the above methods depending on which one you find the most convenient.
However, if you have any questions, confusion, suggestions, or feedback about this article, you can get in touch with us through the comments section.
