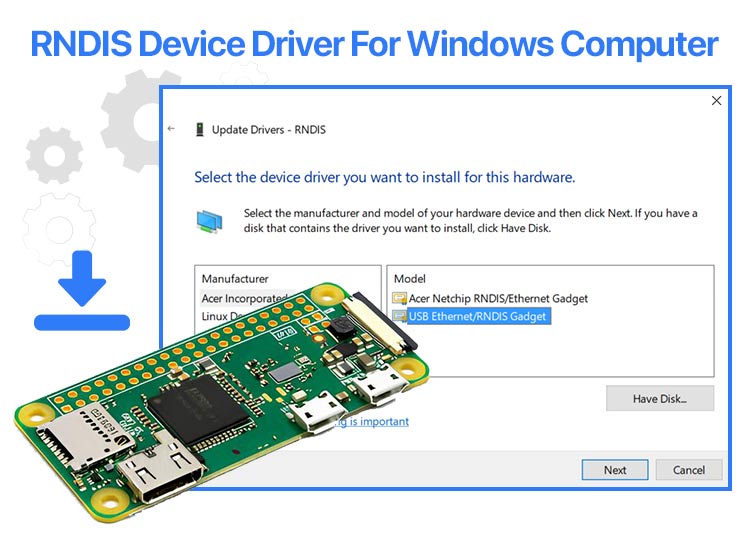
Remote Network Driver Interface Specification, or RNDIS protocol, allows users to connect and use USB devices more appropriately. Hence, the RNDIS device driver is crucial and must be installed on your computer.
This driver is a set of instructions that command your Windows PC on how to respond to your actions and commands, communicate with the system, and vice versa.
Hence, this article walks you through the best ways to download, install, and update the RNDIS device driver to ensure your computer does not experience any problems while using any RNDIS device.

Methods to Download and Update the RNDIS Device Driver for Windows
The following sections of this article explain some of the best and safest methods to install the RNDIS device driver for your Windows PC.
Method 1: Use Device Manager to download the RNDIS device driver
Device Manager is among the most reliable methods to download and update all drivers, including the RNDIS device driver. You can follow these steps to use this tool.
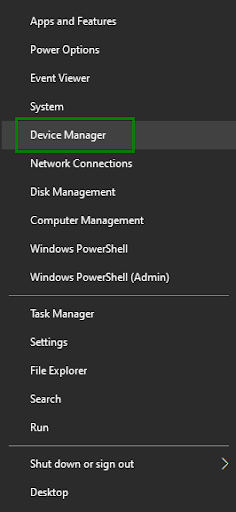
- First, use the Win+X key combination to view the Windows context menu.
- Next, choose Device Manager from the available options to open it.
- Once the Device Manager opens, double-click Other Devices to expand it.
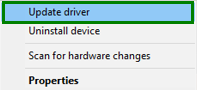
- In this step, right-click the device name and choose Update Driver from the available options.
- Next, choose Search automatically for drivers from the options on your screen.
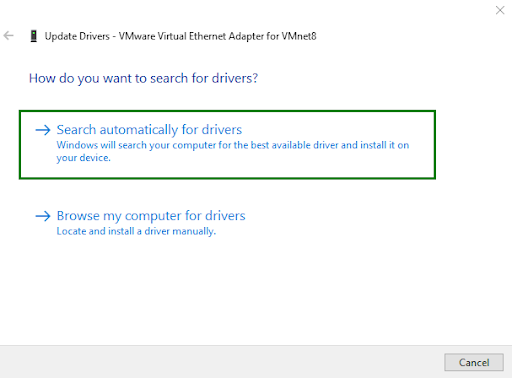
- This step requires you to follow the on-screen directions to install the driver.
- Lastly, reboot your computer so it can adapt to the newly introduced driver.
Also know: Brother HL-L2360DW AirPrint Printer Driver Download for Windows 11/10
Method 2: Update Windows to download and install the RNDIS device driver
In addition to system updates, Windows offers driver updates to ensure smooth device functioning. Hence, you can follow these steps to update your operating system to download and install the updated RNDIS device drivers for Windows.
- Use the Win+I key combination to access the Windows settings.
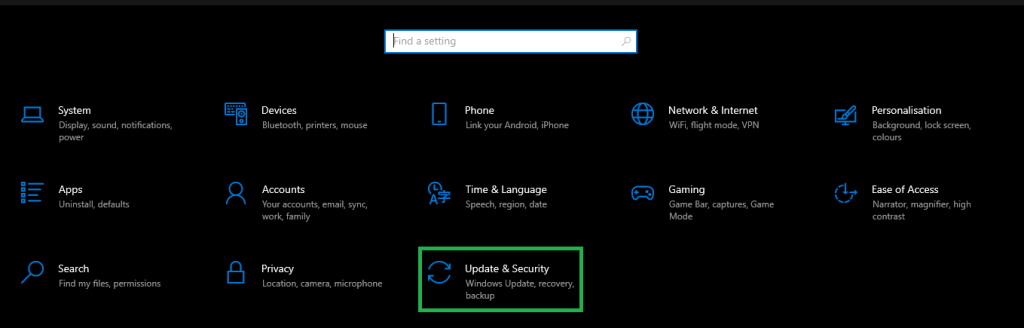
- Next, choose Update & Security from the options that appear.
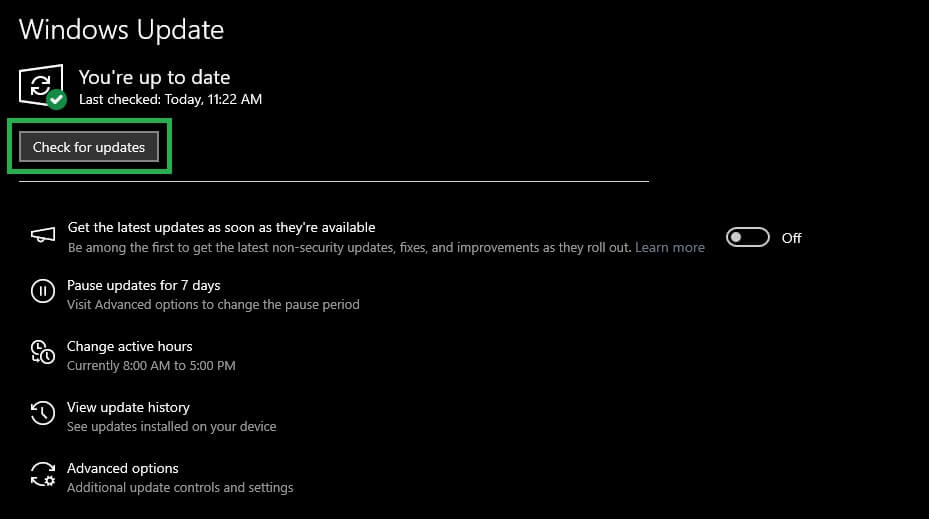
- In this step, click Check For Updates in the Windows Update section.
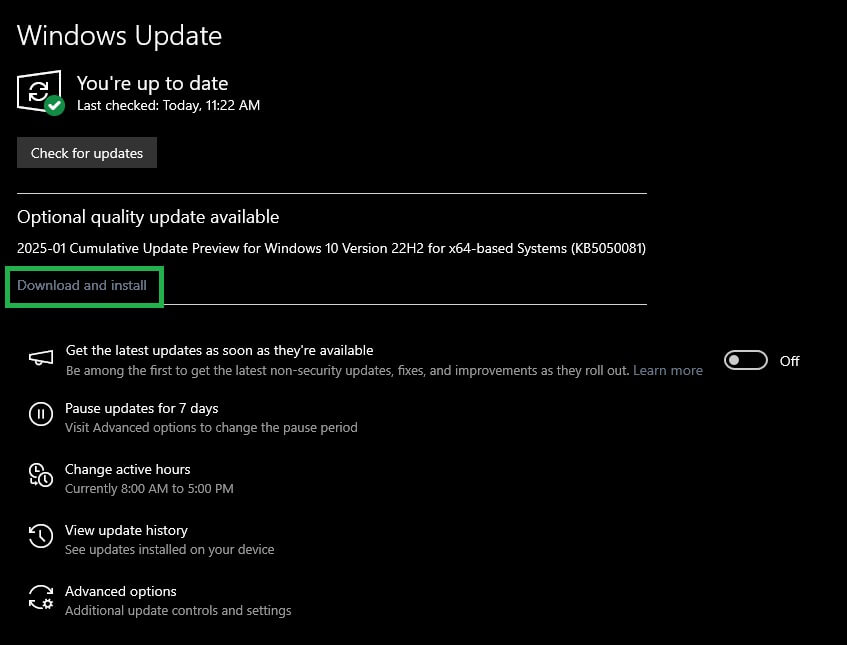
- This step requires you to download and install all types of updates, including driver updates, mainstream updates, additional updates, and other drivers for your computer.
- Lastly, restart your computer after completing the above steps.
Method 3: Download the RNDIS device driver from Microsoft Update Catalog
The Microsoft Update Catalog is an official page where you can find all driver updates, operating system updates, and other updates. You can also download the RNDIS device driver for Windows 10/11 from here. Below are the steps to do so.
- Navigate to the Microsoft Update Catalog page to get started.
- Next, input RNDIS in the on-screen search box and press the Enter key.
- In this step, click the Download button next to the required RNDIS driver.
- Once the download is complete, run the downloaded file to install the driver.
- Lastly, restart your computer after completing the driver installation.
Also know: Top 10 Best Free Driver Updater Tools for Windows 10 and 11
RNDIS Device Driver Downloaded and Updated
Above, we guided you through the best methods to download and install the RNDIS device driver for Windows 10/11 computers. Similar to other drivers, the RNDIS driver is essential for the system, as it improves the device’s performance. Hence, it is always recommended to keep all device drivers up-to-date on your operating system.
If you have any RNDIS device driver-related questions or concerns, you can contact our experts through the comments section. You can also use the comments section below to notify us if we left out any method to install the required driver. We will be back soon with another helpful tech guide. Until then, you can read other useful information on this blog.
