
White, while a color of peace, can also be distressing, especially when it appears as the white screen of death on Windows 10. The error causes your screen to go blank, leaving only the cursor visible.
Unlike other errors, such as the blue screen and black screen of death, the Windows 10 white screen does not even contain an error message indicating that something is wrong.
When this error occurs, you see only a blank white screen, preventing you from accessing the login menu.
However, this frightening problem has some quick and easy solutions. This article will guide you through these possible fixes for the Windows white screen.
Before moving on to these solutions, let’s clear up the basics about the white screen and its causes to make troubleshooting easier.
What Does the White Screen of Death Mean
The white screen of death is a critical error that prevents the display of your desktop or login menu. It displays a blank white screen instead of your operating system. While this error is scarier than other system errors, as it does not contain any information about what may have happened, it is generally caused by hardware failures, software or driver issues, malware, or corrupted Windows updates.
Let’s take a look at all its most common causes next.
What Causes White Screen of Death on Windows 10
Since the error screen shows nothing except the mouse pointer, it is difficult to find the exact cause of the white screen on your computer. However, research reveals the following are the top contributing factors to this issue.
- Too many devices are plugged into the computer, putting excessive pressure on the bus controller on the motherboard.
- Newly installed hardware, such as the printer, mouse, and keyboard, and their drivers, may be incompatible with your operating system.
- The drivers installed on your computer, especially the graphics card driver, may be outdated.
- Background applications may be putting pressure on your system resources and interfering with its functionality.
- You may be running an outdated or incompatible version of Windows.
- Your computer does not contain critical file (s).
Now that you have the required understanding of the white screen of death on Windows 10 and its causes, let’s help you fix it.
How to Fix Windows White Screen of Death
You can apply the following solutions sequentially to fix the Windows 10 white screen of death on your PC.
Fix 1: Force a PC reboot
A forced computer restart ends any slowed processes or software conflicts to fix the glitches that may have caused the white screen of death error, and initiates a fresh boot sequence. Hence, you can follow the steps below to force restart your computer.
- First, press and hold the power button for at least 10 seconds.
- Next, release the power button and press it again to restart your PC.
Fix 2: Disconnect all USB accessories and other devices
External devices, such as external hard disks, USB devices, and other devices, sometimes cause conflict with and interrupt the boot process, causing the Windows white screen of death.
Hence, you can disconnect these devices to allow your system to boot without any external interference, fixing the Windows 10 white screen and loading your operating system normally.
Also know: What is Blue Screen of Death and How to Fix BSOD Errors in Windows 10
Fix 3: Activate safe mode
The Safe Mode boots your computer with only the necessary drivers and services, helping you isolate whether the white screen on your computer is a software or driver issue. Hence, you can follow the directions below to enter Safe Mode.
- Begin by restarting your computer and pressing F8 repeatedly until Windows loads.
- Next, choose Safe Mode from the on-screen Advanced Boot Options menu.
- In this step, check if the white screen reappears. If the white screen of death does not appear in Safe Mode, some software or driver issue may have caused it.
Fix 4: Update the graphics driver
The graphics card driver is a piece of software that helps your graphics card and the system communicate to execute your instructions correctly. If the graphics driver is outdated, this communication breaks, resulting in the Windows 10 white screen of death. Thus, update your graphics driver to solve the problem. Here is how.
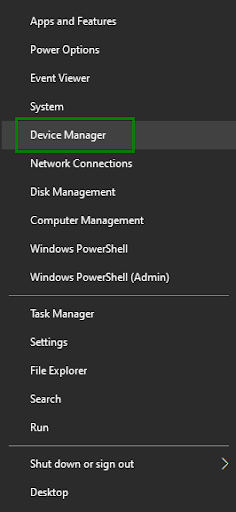
- First, right-click the Windows icon and choose Device Manager from the available options.
- Once the Device Manager opens, find and double-click Display adapters.
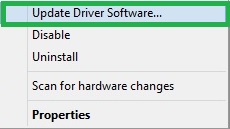
- Next, right-click your graphics card and then click Update Driver.
- In this step, choose Search automatically for drivers from the on-screen options.
- Now, follow the on-screen prompts to install the graphics driver.
Fix 5: Perform Windows update
Windows updates fix security loopholes, random bugs, and incompatibility issues that may cause issues like the white screen of death. Hence, you can update Windows by executing the steps below.
- First, use the Windows+S shortcut to launch Windows search.
- Next, type check for updates in the on-screen search bar and click on it when it appears in the search results.
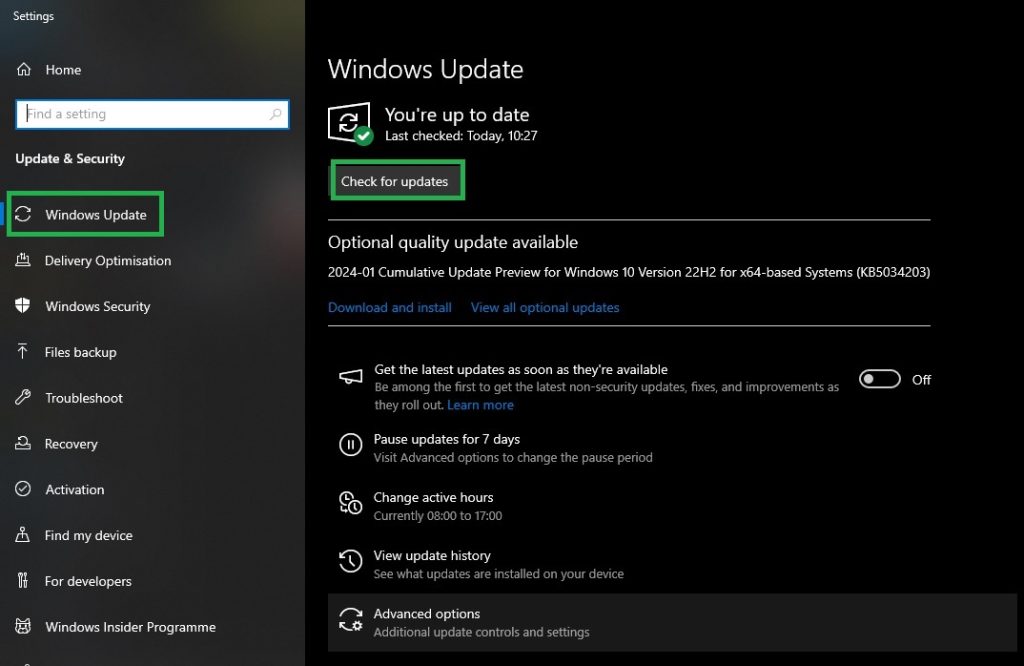
- Click on the on-screen check for updates button to find the updates available for your system.
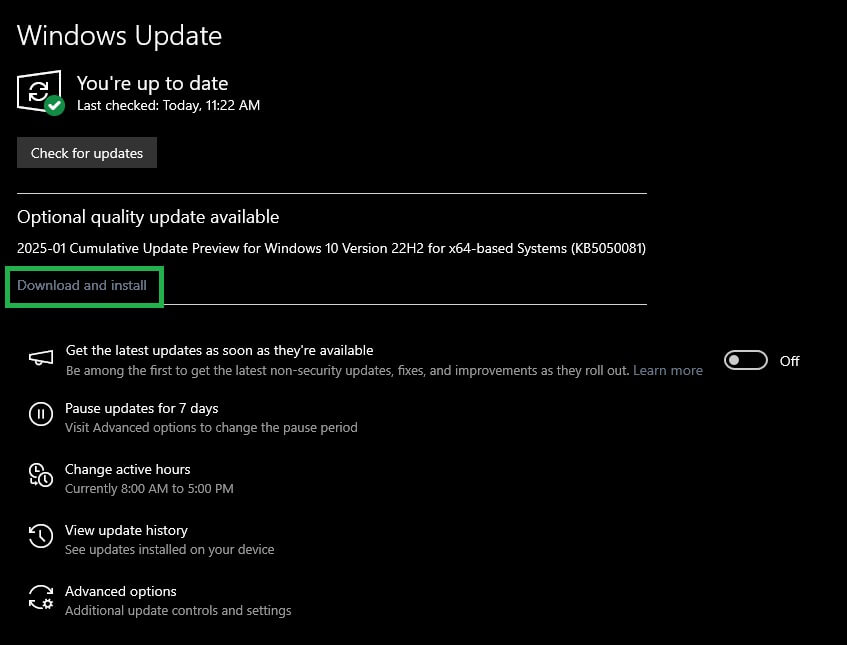
- Lastly, download & install all the suggested updates on your computer.
Fix 6: Roll back the Windows update
If you began experiencing the white screen after updating Windows, the recent Windows update may have caused it. Hence, you can roll back the recently installed update to fix the compatibility problems or bugs. Here is how to perform this action.
- First, use the Windows+I shortcut to open Settings.
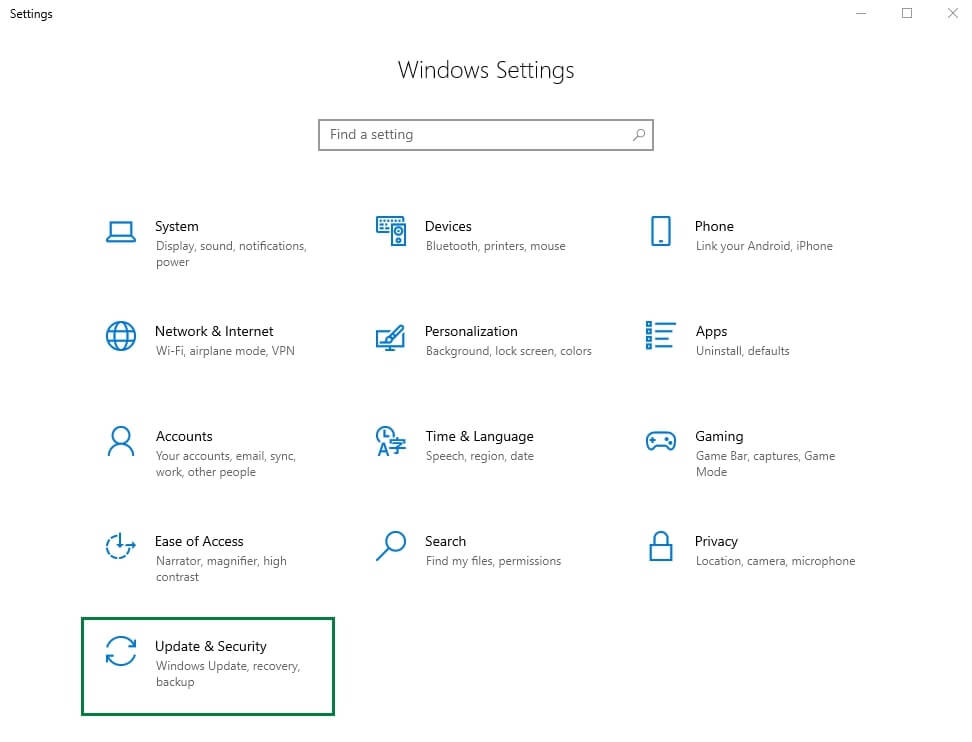
- Once the Settings window opens, click on the Update & Security setting.
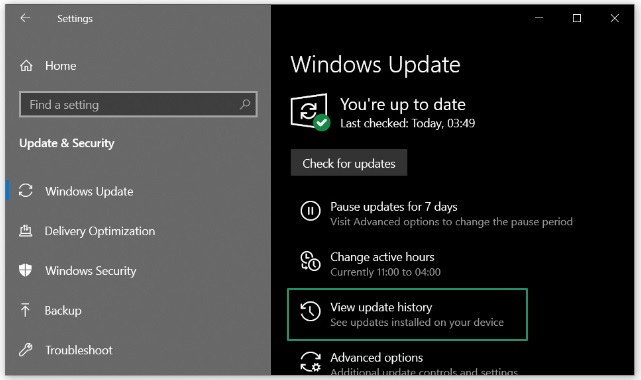
- In this step, choose Windows Update from the left panel.
- Next, choose View update history from the right panel.
- In this step, click Uninstall Updates.
- Lastly, choose the most recent update and follow the on-screen instructions to uninstall the selected update.
Fix 7: Turn off background applications
Any of the applications running in the background on your PC may be interfering with the system’s functionality. Hence, if the white screen issue began after installing a certain program, uninstall it and see if that solves the problem.
However, if you are unsure which program is causing the problem, you can follow the steps below to remove unnecessary applications in the Task Manager.
- First, right-click the empty area on the taskbar and select Task Manager from the on-screen menu.
- Navigate to the Processes tab in the Task Manager.
- Next, right-click the unnecessary/third-party application and choose End Task from the available options.

- Lastly, repeat the above step for all the other third-party or unnecessary apps one by one.
Also know: Complete Troubleshooter Guide to Fix Windows Update Errors Easily
Fix 8: Restore the system to an earlier state
If your system started behaving erratically after making any changes to it, restoring it to the earlier version can help solve the problem (if you have created a restore point previously). Hence, if you have a restore point, follow the directions below to restore the system to the previous state.
- Begin by typing Control Panel in Windows search and selecting it from the search results.
- Next, click the View by menu in the Control Panel and choose Large icons from the on-screen options.
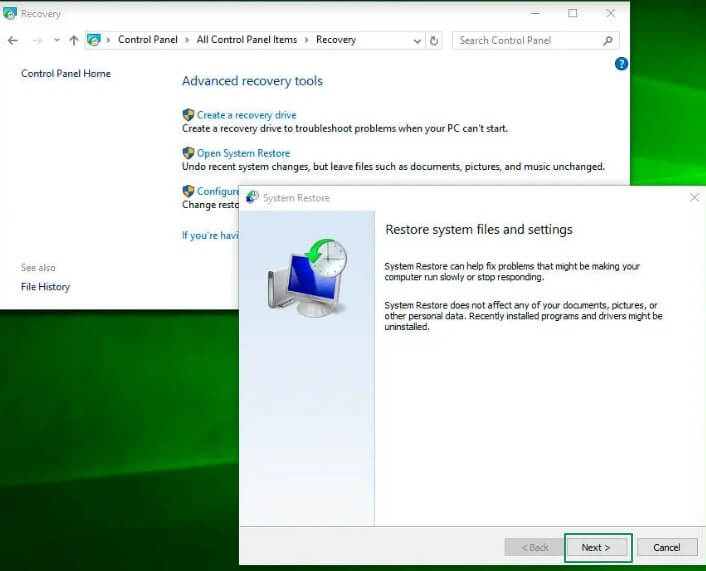
- In this step, click on the Recovery option in the Control Panel options.
- Now, click on the option to Open System Restore.
- Click Next to proceed further.
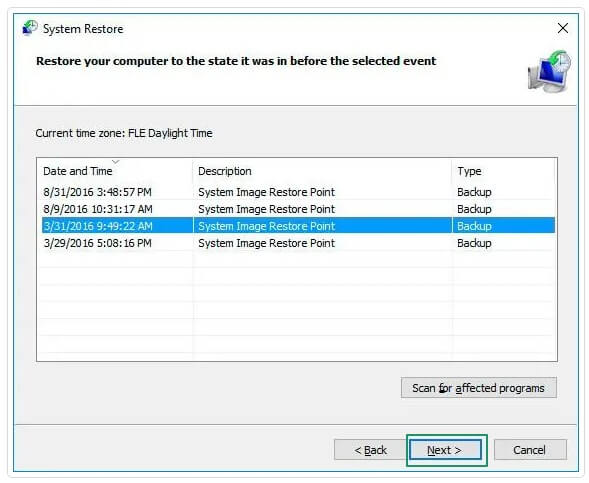
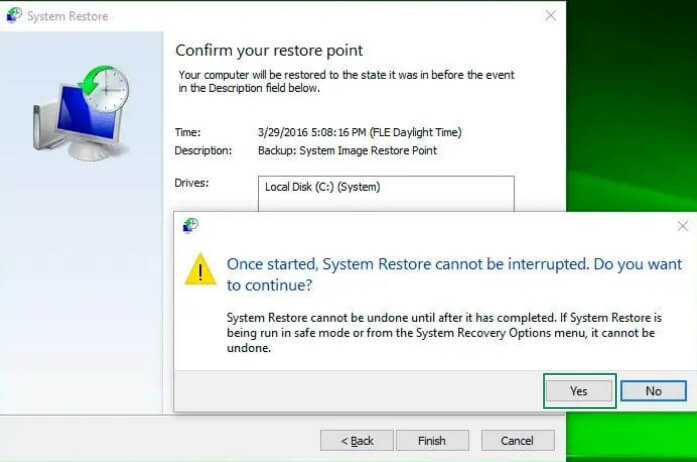
- In this step, select a restoration point and click Next.
- Lastly, click Finish to confirm your restore point and begin the restoration process. If a user account control prompt appears, click Yes to grant the necessary permissions.
Fix 9: Perform hardware and device troubleshooting
Windows has built-in mechanisms to tackle common hardware problems. You can use these troubleshooting tools by following these steps.
- In the first step, use the Windows+R shortcut to access the Run utility.
- Once the Run utility opens, type msdt.exe -id DeviceDiagnostic in the on-screen box and click on the OK button.
- Click Next in the Hardware and Devices window and then follow the on-screen prompts to fix the detected issues.
Fix 10: Scan your computer for malware
Since a virus or malware attack can cause the Windows 10 white screen of death error, you can follow these steps to scan your system for malware.
- First, open Settings using the Windows+I shortcut.
- Next, select Update & Security from the on-screen panel.
- In this step, choose System Protection/Windows Security from the Update & Security options.
- Now, click Virus & threat protection and then run a scan.
- Lastly, follow the on-screen directions to fix the detected issues.
Fix 11: Run an SFC scan
Damaged or corrupted system files can cause many problems, including the white screen of death error on Windows 10. Therefore, you can check and fix the system files through an SFC scan by following these steps.
- In the first step, type cmd in Windows search.
- Next, right-click Command Prompt in the search results and choose Run as administrator from the menu that appears.
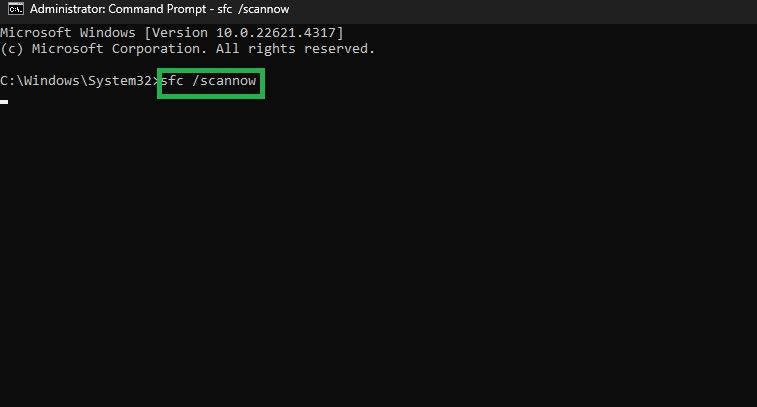
- Once the Administrator Command Prompt opens, copy and paste the following command and press Enter.
sfc/scannow
Also know: How to Fix OBS Capture Black Screen Error in Windows PC
Windows 10 White Screen of Death Fixed Successfully
That’s how we fix the frightening yet easily solvable white screen of death error on Windows. You can solve this problem effortlessly by applying the above solutions in the order we explained them until the issue is resolved.
However, if the issue remains unresolved, it is best to contact a professional technician so that they can diagnose and fix the issue.
In case of any questions or concerns about this article, please feel free to let us know through the comments section below. You can also share any suggestions or feedback you may have in the comments. And, to get more such free tech guides directly in your mailbox, do not forget to subscribe to our newsletter.
