
This guide lists and explains some of the most trusted and easiest methods to execute the 802.11n driver download and update on Windows 10/11 with ease.
802.11n is one of the very initial USB-based Wifi adapters ever created. The adapter supports 4G and 5G connectivity and allows your Windows PC or laptop to connect to a wireless network with ease. The plug-and-play feature of the tool makes it quite handy and easy to use.
However, some users have constantly complained that even after plugging in the 802.11n, they weren’t able to connect to any network as the device showed no available network. One of the most common reasons behind this connection problem is an outdated or missing 802.11n driver.
A driver is the main set of instructional files that allows the system to communicate or command the connected device, 802.11n Wifi adapter in this case, and vice versa.
So, to help you fix or avoid such problems with the 802.11n and enhance its performance, we have curated a list of some of the best methods here to update Windows 10 driver software for the 802.11n Wifi adapter and install it.
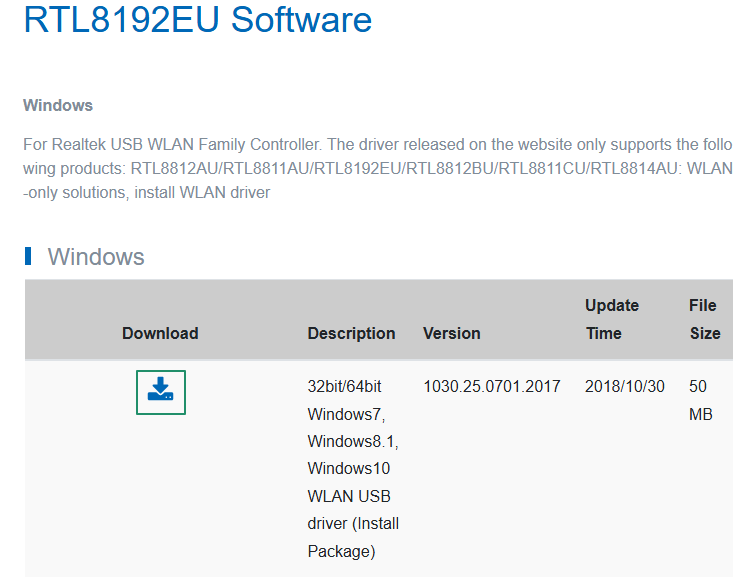
Before proceeding, first have a look at the detailed information about the latest 802.11n driver to ensure you download the correct and compatible driver.
Latest 802.11n Driver Details
Latest version: 1030.25.0701.2017
Release date: 2018/10/30
Supported OS: 32bit/64bit Windows7, Windows8.1, Windows10
File size: 50 MB

Methods to Download and Update the 802.11n Driver for Windows 10/11
In the coming sections of this guide, we will have a look at some of the best methods to execute the 802.11n driver download and update. You can use any of these solutions to get the required driver. However, we recommend that you go through all the solutions first and then choose the most optimal solution that deems fit to your requirements.
Method 1: Download the 802.11n driver from the official website
The official website is another source from which you can download the latest driver for your 802.11n driver. Below is how to do it.
- First, click here to navigate to the official support page of the 802.11n adapter.
- Next, click on the download icon to download the driver setup on your computer.
- In this step, double-click on the downloaded file and follow the on-screen prompts to complete the driver installation.
- Lastly, restart your computer to allow the new driver to take effect.
If you wish to give another method a try, you will find them in the next sections to help you update the 802.11 n WLAN driver.
Also know: How to Fix Wifi Connected But No Internet Connection
Method 2: Update the Driver Using Windows Update Catalog Website
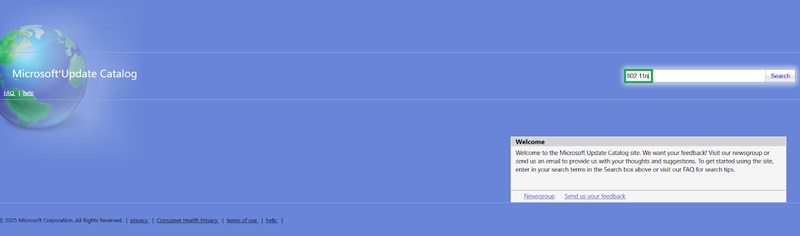
Here’s another reliable method to proceed with the 802.11n driver update for Windows 7/8/10/11. Microsoft Update Catalog is an official page from the house of Microsoft that includes updates and downloads of various kinds, including those for drivers and otherwise. You can use the same to install the 802.11n driver as well. Follow the steps provided below to use this website for your purpose:
- Visit the Microsoft Catalog Update page.
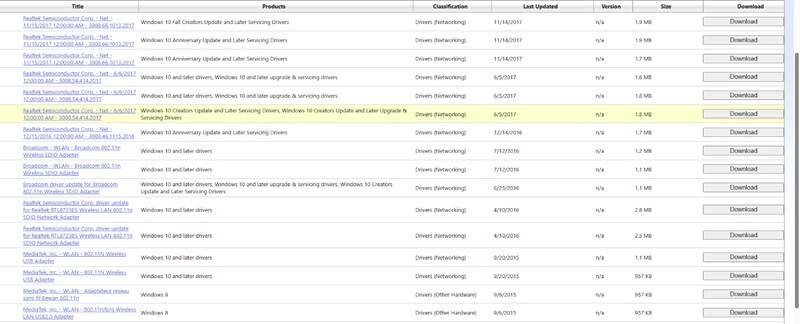
- Use the search section to search for the 802.11n and press the Enter key.
- Use the Download button to get the required driver file.
- Now, when the file is downloaded, you can run the same and install the driver.
- Don’t forget to restart the system to apply the new changes made in the system.
So, that was the method for Wifi adapter 802.11n download using Microsoft Update Catalog. Now, let’s have a look at yet another method to install the required Wifi driver right below.
Method 3: Update the Operating System to Update the Wifi Driver
Here’s the last method to download and update the 802.11n driver for Windows. Little do the Windows users know that Microsoft has integrated a feature to help you update the device drivers, along with the official system updates. The procedure to do the same has been explained below:
- Click on the search section available on the Windows Task Bar, type check for updates, and hit the Enter button.
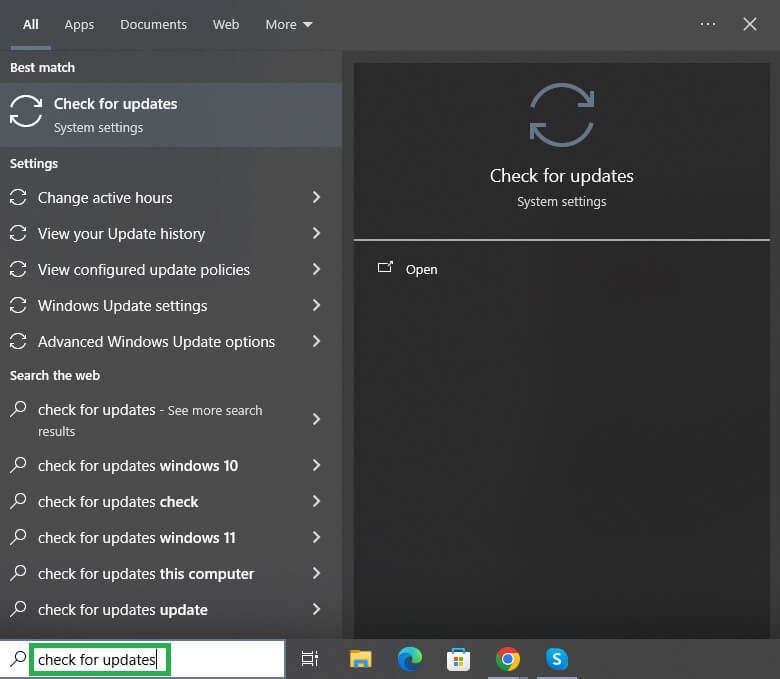
- You may need to wait for a minute for the tool to launch. Thereon, you can click on the Check for Updates button to proceed.
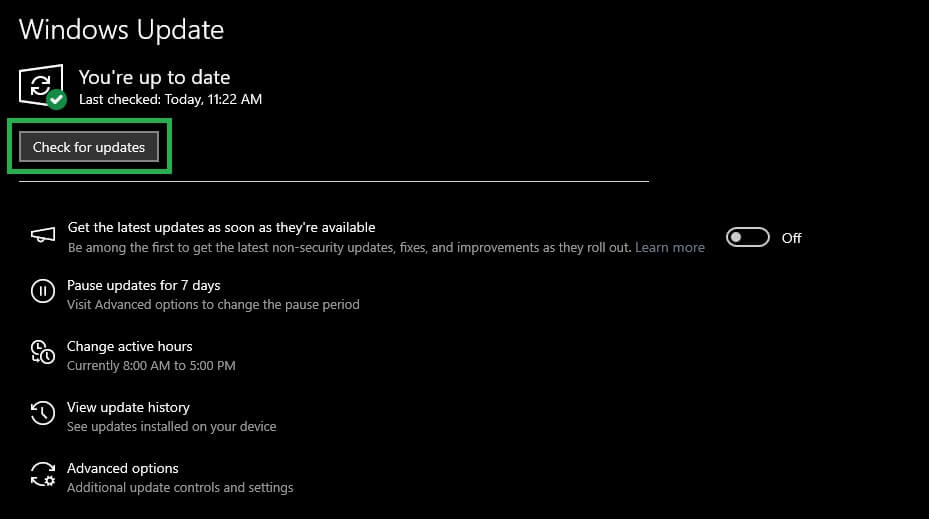
- Download and install the available updates, including the optional and additional updates.
Also know: How to Install a Network Adapter Driver on Windows 10 without Internet
802.11n WLAN Adapter Driver: Installed
Now, it’s time to sum up this guide on 802.11n driver download and update for Windows 10/11. Previously, we have looked at some of the best and easiest methods to download and install the Wifi adapter driver with ease. Once you install the driver, you will see that the Wifi adapter is now showing all the available Wifi networks in the respective sections. Now, you can connect to the required network and use the internet on your Windows PC.
So, that’s all. If you have any further questions related to the 802.11n driver download and update methods, you can seek the assistance of our tech experts using the comments section below. If we were able to help you with the 802.11n drivers, you can subscribe to our newsletter and follow our social media pages for daily updates.
802.11n Driver: FAQs
You may have some queries related to the 802.11n driver download and update. Find the FAQs below to find reliable answers:
Q1. What is an 802.11n Wifi driver?
The 802.11n Wifi driver is a set of instructional files that define how the 802.11n Wifi adapter will respond to the user’s commands and act in the system. The same driver also defines the performance of the Wifi adapter.
Q2. How to install WiFi adapter 802.11 n driver in Windows 11?
To install the Wifi adapter 802.11 n driver in Windows 11 you can take the help of the Device Manager. Open the Device Manager, and in the Network Adapter category, right-click the 802.11n adapter; thereon Update the Driver.
Q3. How do I enable 802.11n on Windows 11?
To enable the 802.11 n driver in Windows 11, you can use the Device Manager. Right-click on the 802.11n device under the Network Adapter categories in the Device Manager and select the Enable Driver option.
