
The ScanSnap iX1600 is a scanner renowned for its fast speed, ease of use, smooth touchscreen interface, 50-page feed tray, and high-quality scans. However, it may not deliver the desired performance without a ScanSnap iX1600 driver.
The ScanSnap iX1600 driver for Windows 11/10 is the software your computer needs to communicate with the scanner to execute your commands perfectly. Without the driver, the system may fail to understand your instructions, leading to various issues, such as the scanner not working.
Hence, this article presents an effective guide with quick and easy ways to download and install the ScanSnap iX1600 driver to prevent related problems. Let us begin with them without wasting your precious time.
Methods to Download and Install ScanSnap iX1600 Driver
You can follow the methods below to download and install the latest ScanSnap iX1600 driver for Windows 11/10 on your computer.
Method 1: Download the ScanSnap iX1600 driver from the official website
Device manufacturers release drivers and driver updates on their official websites to ensure smooth device functionality. Below is how to download and install the ScanSnap iX1600 driver from the manufacturer’s official website.
- First, navigate to the support and download page on the official website of RICOH from here.
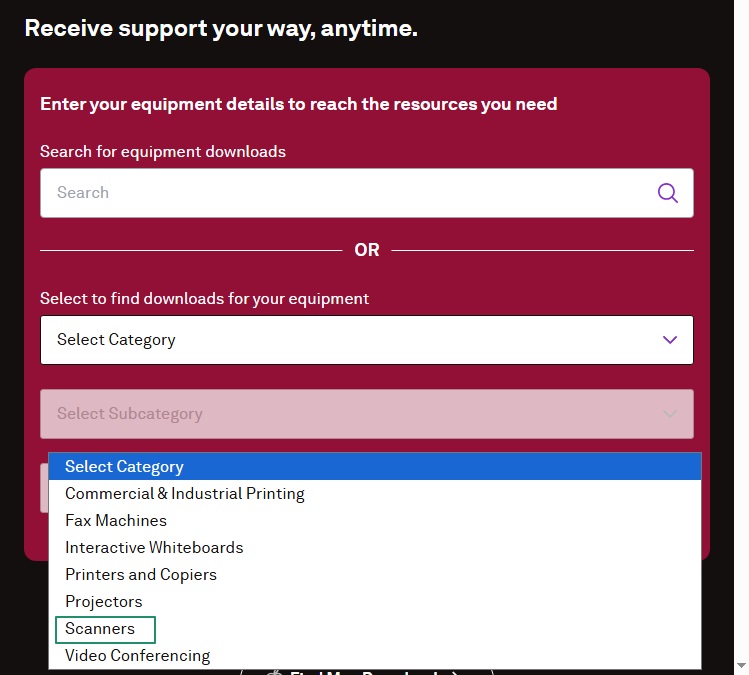
- Next, choose Scanners from the select category dropdown.
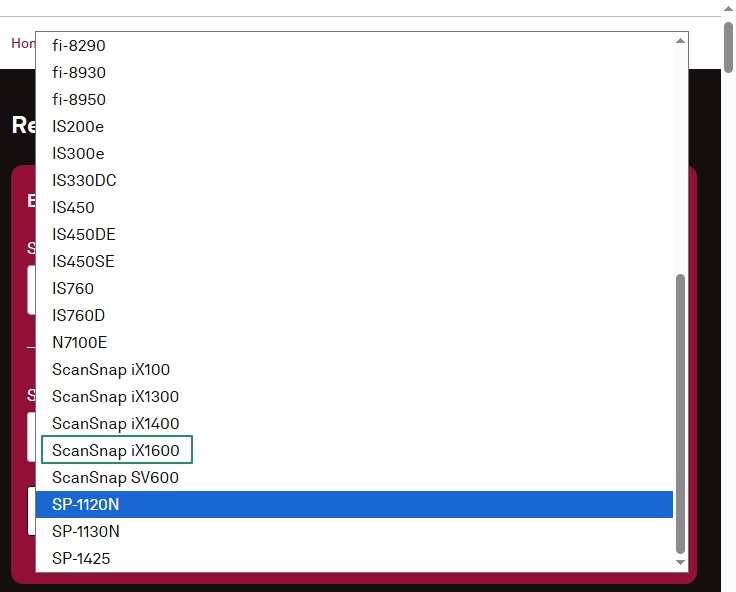
- In this step, choose ScanSnap iX1600 from the select model dropdown menu.
- You can now click on the Submit button to proceed to the next step.
- Next, click on the Drivers link for the ScanSnap iX1600 scanner.

- You are now required to read and agree to the software license agreement.
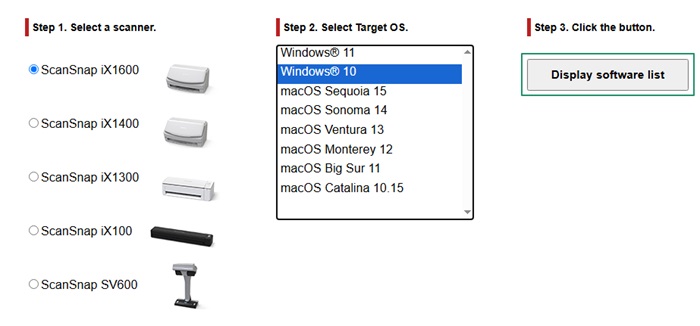
- In this step, select a scanner for which you wish to download the driver, i.e., the ScanSnap iX1600 scanner.
- Next, select the target OS, i.e., your computer’s operating system, from the options that appear.
Note: If you are unsure about your computer OS, you can find it through the settings. Simply follow the path Win+I keyboard shortcut>System>About to note your operating system.
- After selecting the operating system, click on the Display software list button.
- Next, click on the driver download link to proceed further.
- In this step, choose your location from the available location dropdown menu.
- After selecting your location, click on the Download Installer button.
- Next, read and agree to the End-User License Agreement.
- In this step, save the downloaded file to the desired location on your computer.
- Next, double-click on the downloaded file and follow the on-screen steps to install the ScanSnap iX1600 driver.
- Lastly, restart your computer (even if it does not ask you to do so) to allow the new driver to take effect.
Also know: Download and Update the RICOH IM C4500 Driver for Windows
Method 2: Use Device Manager to download, install, and update the ScanSnap iX1600 driver
Device Manager is a driver updater tool available on all Windows PCs to download and install the latest drivers for all devices (including scanner and printer drivers) to ensure smooth PC functionality. You can use this built-in tool to download and install the ScanSnap iX1600 driver for Windows 10 and 11. Here is how.
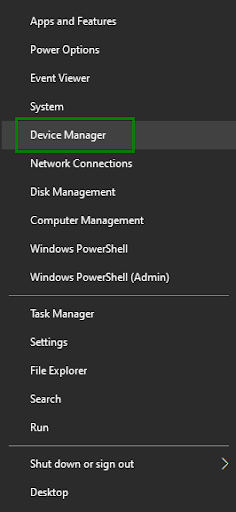
- First, right-click the Windows icon to get the quick access menu on your screen.
- Next, choose Device Manager from the options on your screen.
- In this step, double-click Imaging Devices to locate your scanner. If your scanner is not available in the imaging devices category, double-click and expand the “other devices” category to find the scanner.
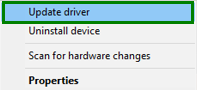
- Next, right-click your ScanSnap iX1600 scanner and select Update Driver from the available options.
- You can now choose to search automatically for drivers from the on-screen options.
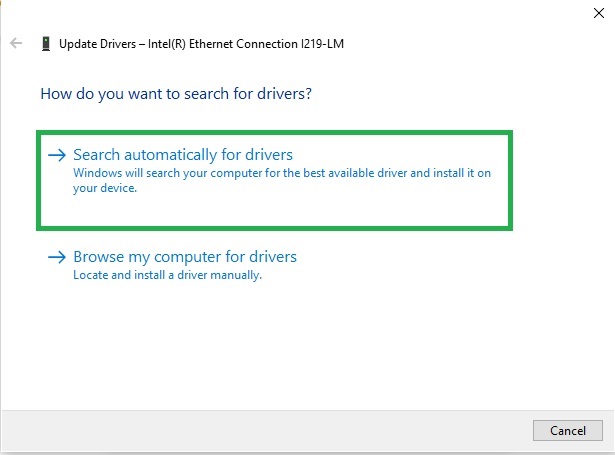
- Next, wait until the ScanSnap iX1600 driver download and installation are complete.
- Lastly, restart your computer (even without your system asking you to restart) to ensure the newly installed driver takes effect.
Method 3: Use Windows Update to download and install the ScanSnap iX1600 driver for Windows 10/11
Windows Update fixes various problems by installing the latest version of your operating system and installing the required drivers. Hence, below is how to download and install the driver for your ScanSnap iX1600 scanner using Windows Update.
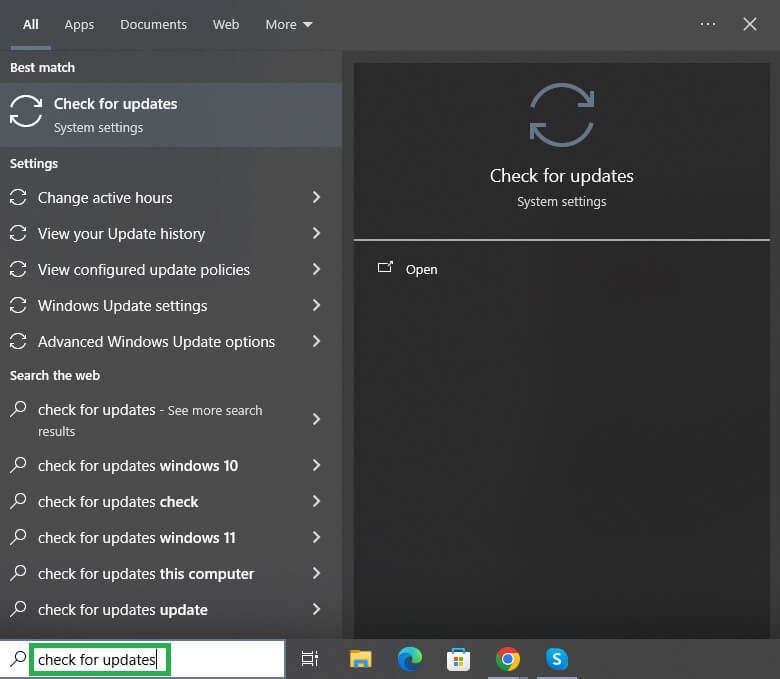
- First, activate the search function using the Win+S key combination.
- Next, type check for updates in the search box and press Enter.
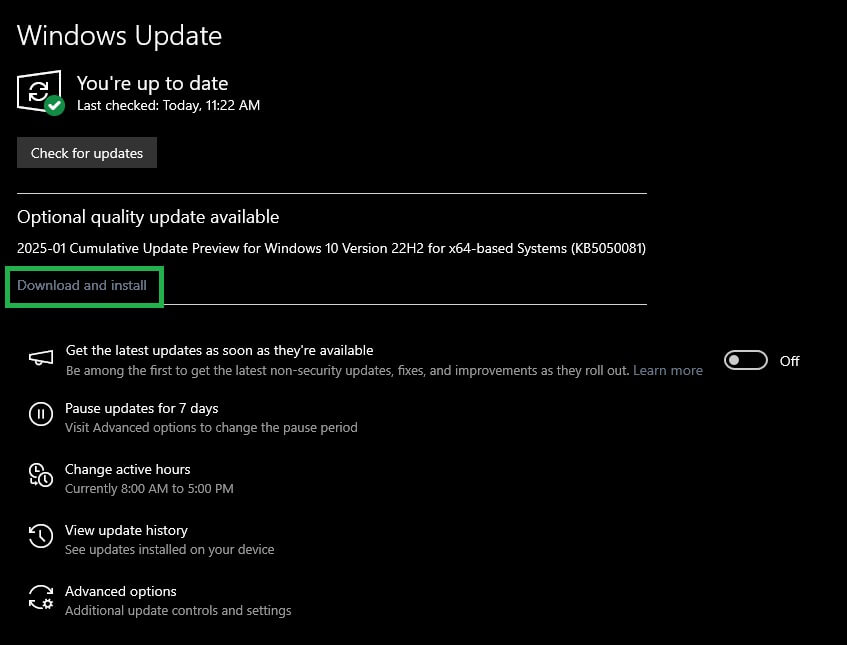
- In this step, click on the check for updates button to find the latest driver and other updates for your operating system.
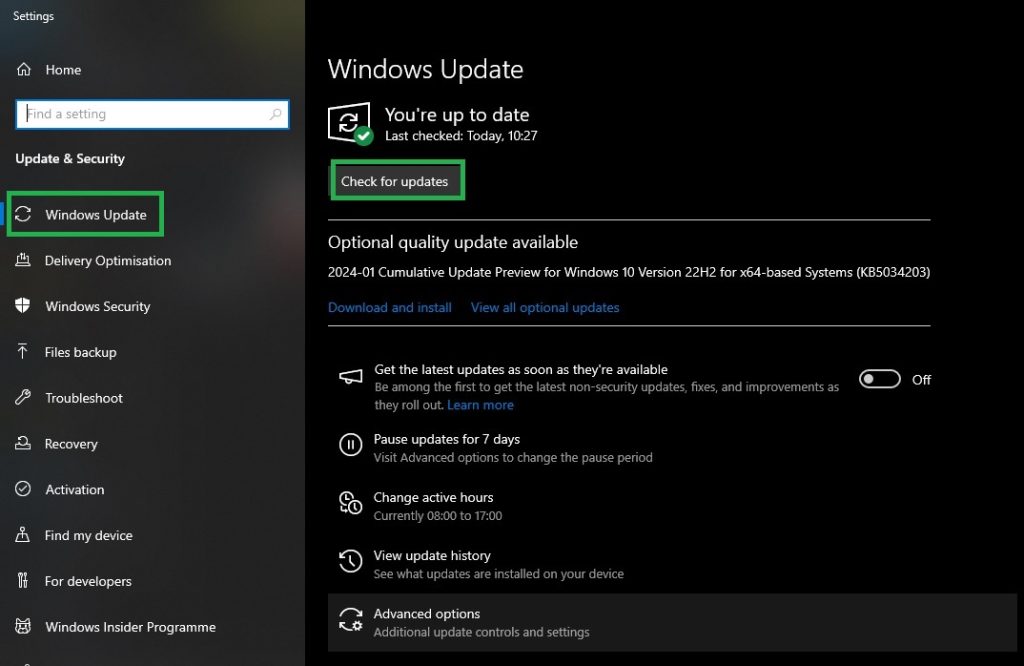
- You can now download & install the available updates, including optional updates, on your computer.
- Lastly, complete the process by restarting your computer.
Also know: Scansnap ix500 Driver Download & Update for Windows 10, 11
ScanSnap iX1600 Driver Downloaded and Installed for Windows 10/11
That is all for how to download and install the ScanSnap iX1600 driver for Windows 10/11 to ensure your scanner performs smoothly. We hope this article helps you get the required drivers for your computer.
However, if you have any questions, doubts, or concerns related to this guide, you can drop a comment to get expert help. You can also share in the comments your feedback/suggestions (if any) about this article. We would be happy to hear from you.
