This comprehensive guide is designed to assist users with the USB 3.0 driver download, on various Windows operating systems, including Windows 10, 11, and legacy versions.
If you’re facing challenges with your USB 3.0 driver after recent Windows updates or system upgrades, this guide will provide step-by-step instructions for efficiently downloading, updating, and troubleshooting USB 3.0 drivers.
If your USB 3.0 driver has stopped working following recent Windows updates or transitioning from Windows 7 or 8.1 to Windows 11, you’re not alone. This guide addresses common challenges and provides practical solutions for users experiencing USB 3.0 driver issues on their computers.
In the following sections, we will explore various methods to simplify the USB 3.0 driver download and update process. For a quick and straightforward solution without intricate steps, consider Win Riser for automated USB 3.0 driver download and updates. This program facilitates the replacement of outdated drivers with the latest versions in just one click.
Best Methods to Download USB 3.0 Driver or Update it for Windows 10, 11
If you want to make sure you will never encounter issues with your USB 3.0 Driver, you can choose one of the following methods to download the USB 3.0 driver for Windows 10, and 11.
Method 1: Download and Update USB 3.0 Driver Automatically (Our Recommendation)
Bit Driver Updater emerges as an industry-acclaimed best driver updater tool for automatic USB 3.0 driver updates on Windows 10, 11, and previous OS versions.
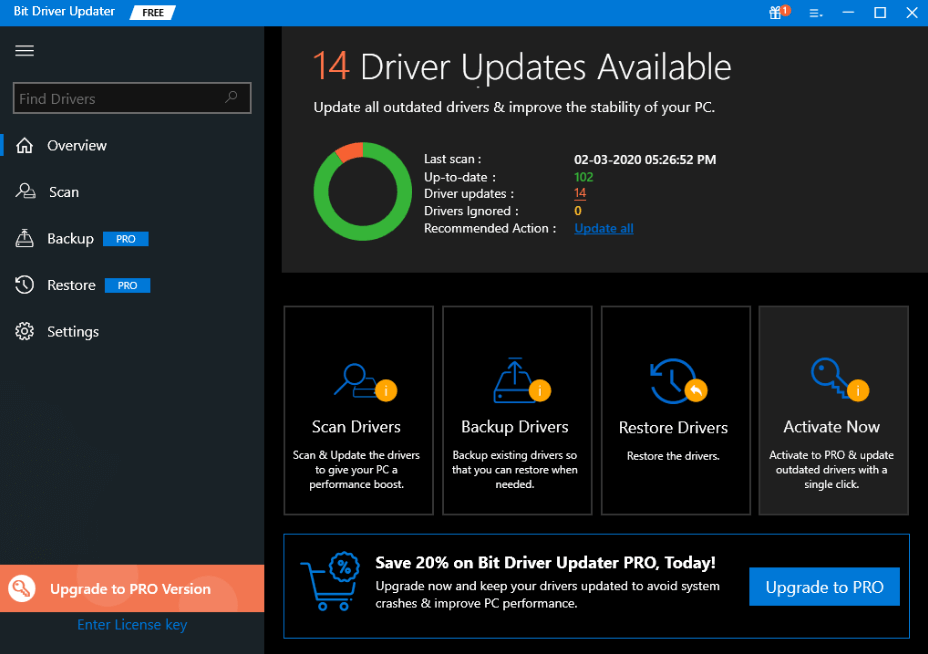
Follow these steps to effortlessly download the Windows 10 USB 3.0 driver:
- Download and install Bit Driver Updater for free.
- Install the software following the prompts.
- Click on “Scan” to identify outdated and missing drivers.
- Click on the “Update Now” button next to the flagged device driver, i.e., Windows 11 USB 3.0 driver.
Following these steps not only resolves USB 3.0 driver-related issues but also optimizes your computer for peak performance.
Remember that USB 3.0 boasts a maximum data transmission speed of 5 Gbit/s (SuperSpeed), approximately 10 times faster than the USB 2.0 (480 Mbit/s) standard.
Method 2: Manually Update USB 3.0 Driver
For those preferring a hands-on approach, manual USB 3.0 driver download and installation are viable options. Visit the official manufacturer’s support website, and ensure compatibility with your Windows version and processor type before proceeding.
Here are the steps to follow:
- Download the driver setup file from the website (e.g., Intel).
- Extract the downloaded zip file on your PC.
- Right-click on the Windows logo, and choose Device Manager.
- Then, click on the Universal Serial Bus controller option to expand it.
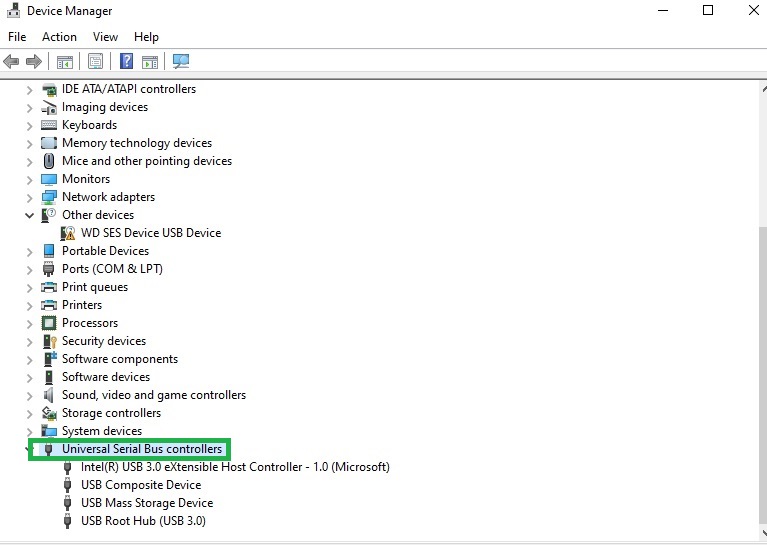
- Locate the device for which you’ve downloaded the Windows USB 3.0 driver package. If the drivers are missing, outdated, or corrupted, you will see a yellow exclamation mark or an ‘Unknown USB device’ alert.
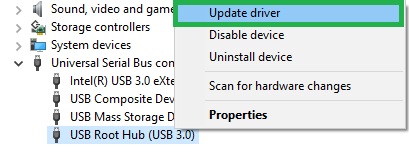
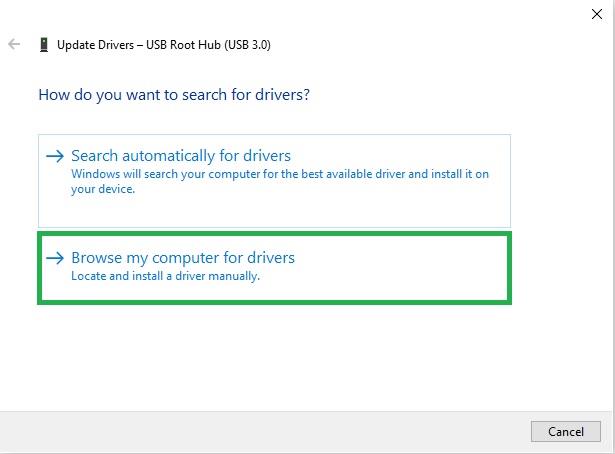
- Right-click on your USB 3.0 device > Update Driver Software.
- Select “Browse my computer for driver software”.
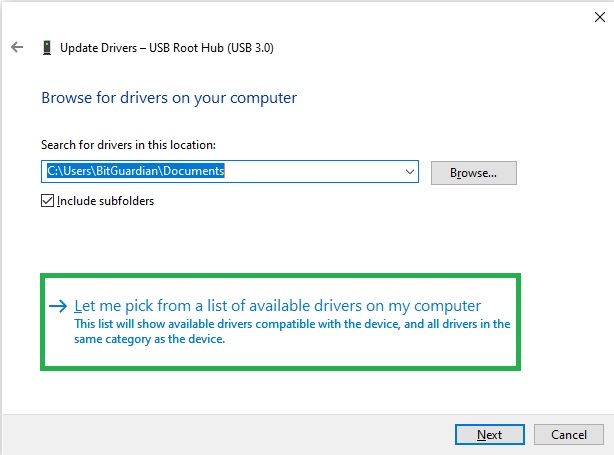
- Choose “Let me pick from a list of device drivers on my computer”.
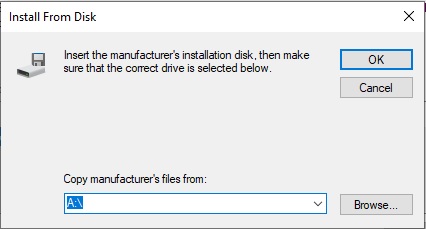
9. Choose ‘Have Disk’.

10. Click on the Browse button. Pick the location where you saved the USB 3.0 driver download file.
- Choose the .inf file and follow the on-screen instructions to install the USB 3.0 driver on your Windows PC.
- Restart your computer to finish the driver installation process.
If the Device Manager downloads incorrect drivers, causing issues, reinstall USB 3.0 drivers:
- Launch Device Manager (see above).
- Double-click on Universal Serial Bust.
- Find your preferred device with issues and right-click on it.
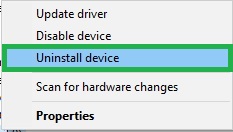
- Select Uninstall Device from the context menu.
- Click Yes if a pop-up is asking for confirmation.
- Wait for the process to complete.
Then, install the most genuine versions again, using any of the following methods.
This manual method demands time, and also patience. Moreover, it is handy for tech-savvy users. So, if you lack sufficient knowledge or wish to save time and effort, consider the next automatic method.
Method 3: USB 3.0 Driver Update Using Windows Update (Manually)
You can also use the Microsoft Windows Update service to manually download and install USB 3.0 drivers for Windows 11, 10, and older OS editions.
Follow these steps:
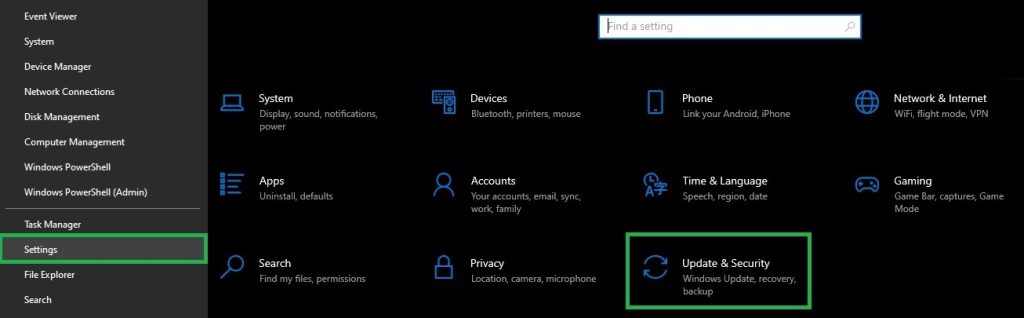
- Select the Start button (Windows logo) from the taskbar, and then click on Settings. Then, choose Update & Security.
- Select the Check for Updates button under the Windows Update section.
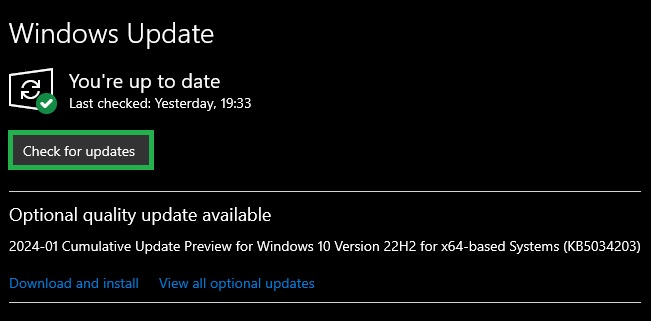
- Windows will search for a newly-released USB 3.0 driver update for your PC. If found, the operating system will download and install it automatically.
Method 4: Manually Download the Driver from the Microsoft Update Catalog
The Microsoft Update Catalog website grants access to an array of optional, vital, and recommended updates, encompassing hardware drivers. It allows users to search for a new or updated driver version by entering a driver model, manufacturer name, or a 4-part HWID (Hardware ID). But let’s check together the steps for downloading and installing USB 3.0 drivers for Windows 10 and other operating systems from the Microsoft Update Catalog site:
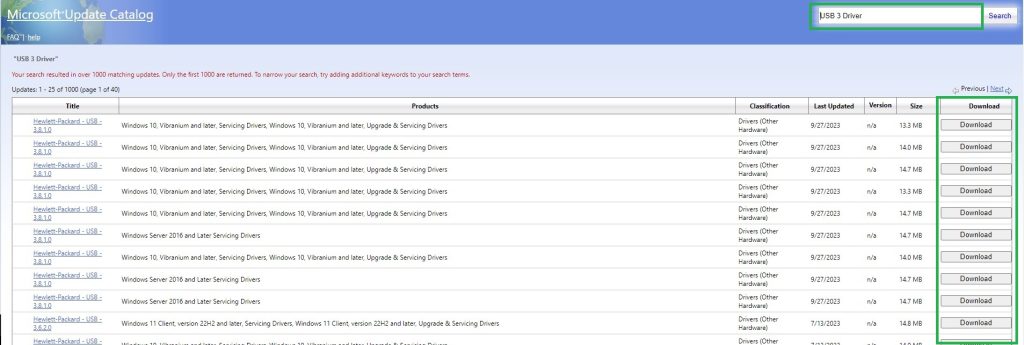
- Access the Microsoft Update Catalog website.
- Search for USB 3.0 driver, using the search box.

3. Use the Download button for the specific driver you need to install.
What if it does not work?
If updating the driver fails to resolve USB 3.0 issues, the final resort is to adjust the Windows USB Power Settings. It’s conceivable that Windows USB Power Settings may be causing interference with USB ports and connected devices. But do not worry! Tweaking the power settings can potentially resolve USB 3.0 driver problems. Follow these steps to modify the Windows 10 USB power settings:
- Open the Run Dialog box. For this, press the Windows logo + R key on the keyboard.
- Type “devmgmt.msc” and press Enter. Or just click on the OK option.

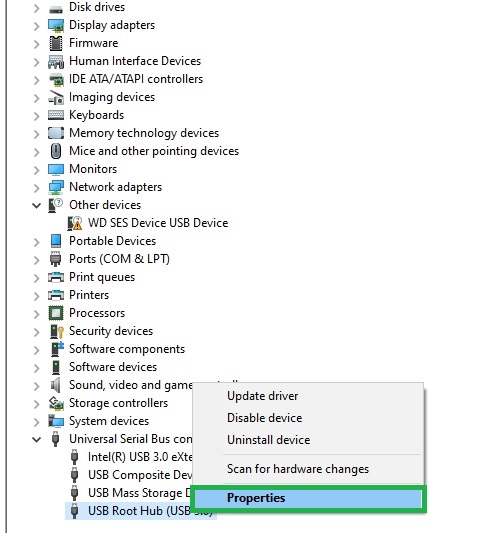
- When the Device Manager window appears, scroll down to select Universal Serial Bus Controllers and double-click to expand the list.
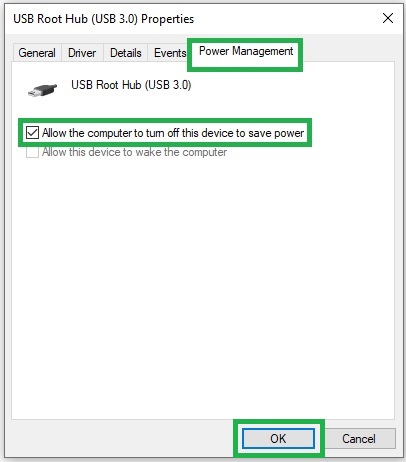
- Right-click on USB Root Hub (USB 3.0) and choose Properties from the context menu.
- Switch to the Power Management tab, and check the Allow the computer to turn off this device to save power box. Then, click OK.
- Close the Device Manager window. Once these steps are completed, reboot your computer. Test this solution to see if the USB 3.0 issues have been resolved.

10 Comments